oft blog
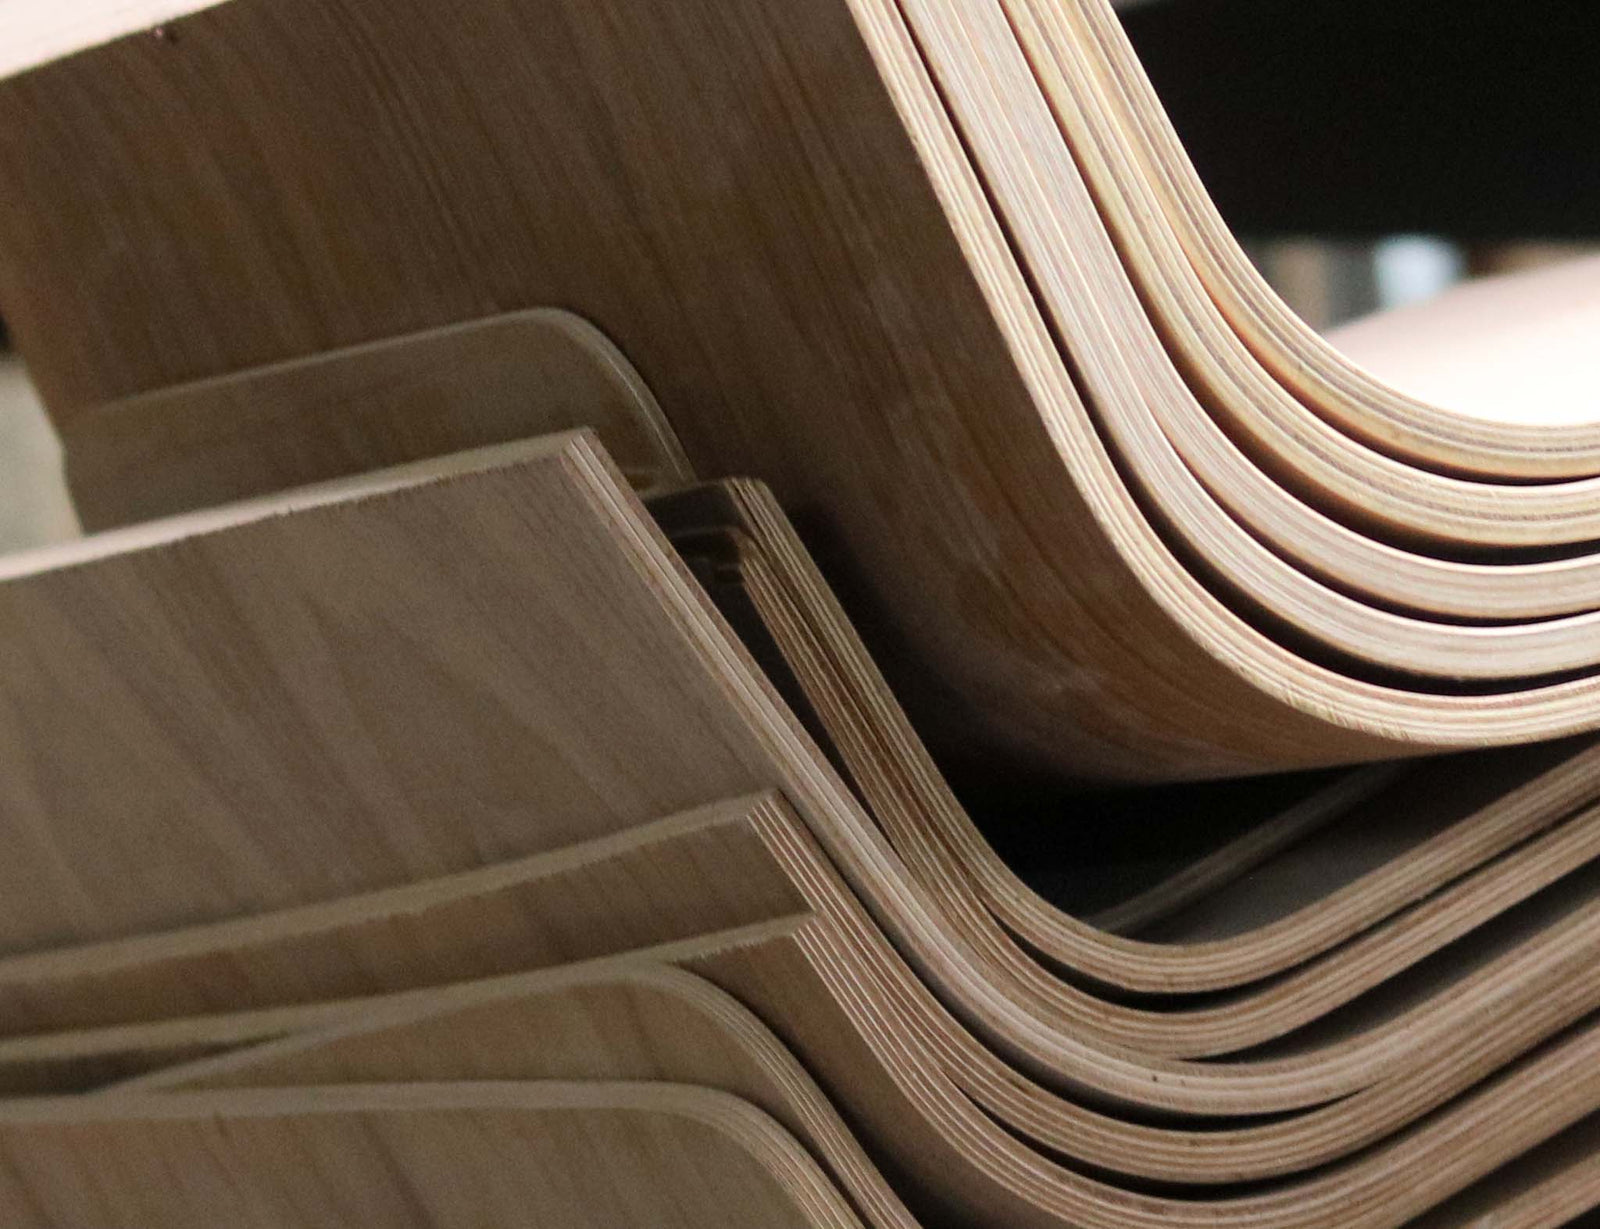

The Art and Craft of Moulding Plywood
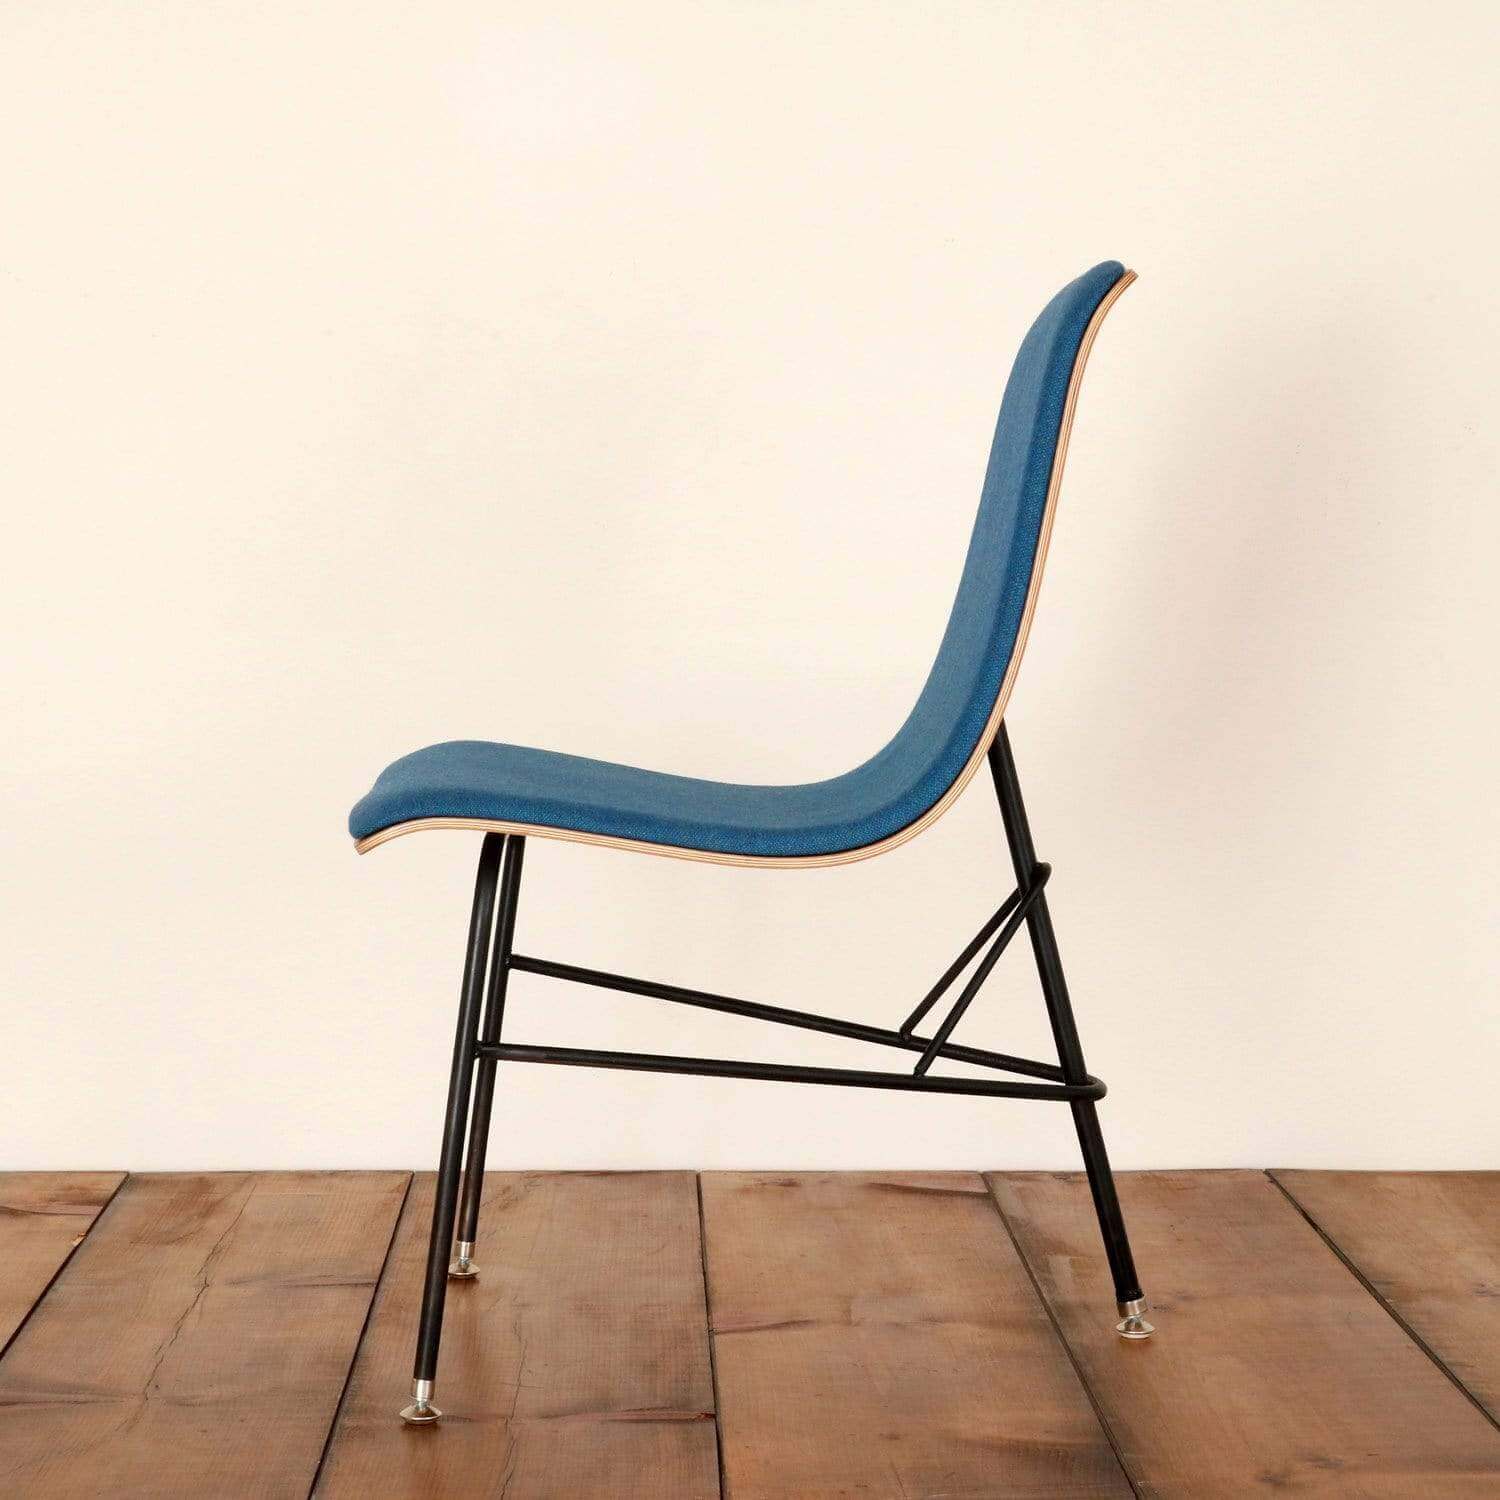
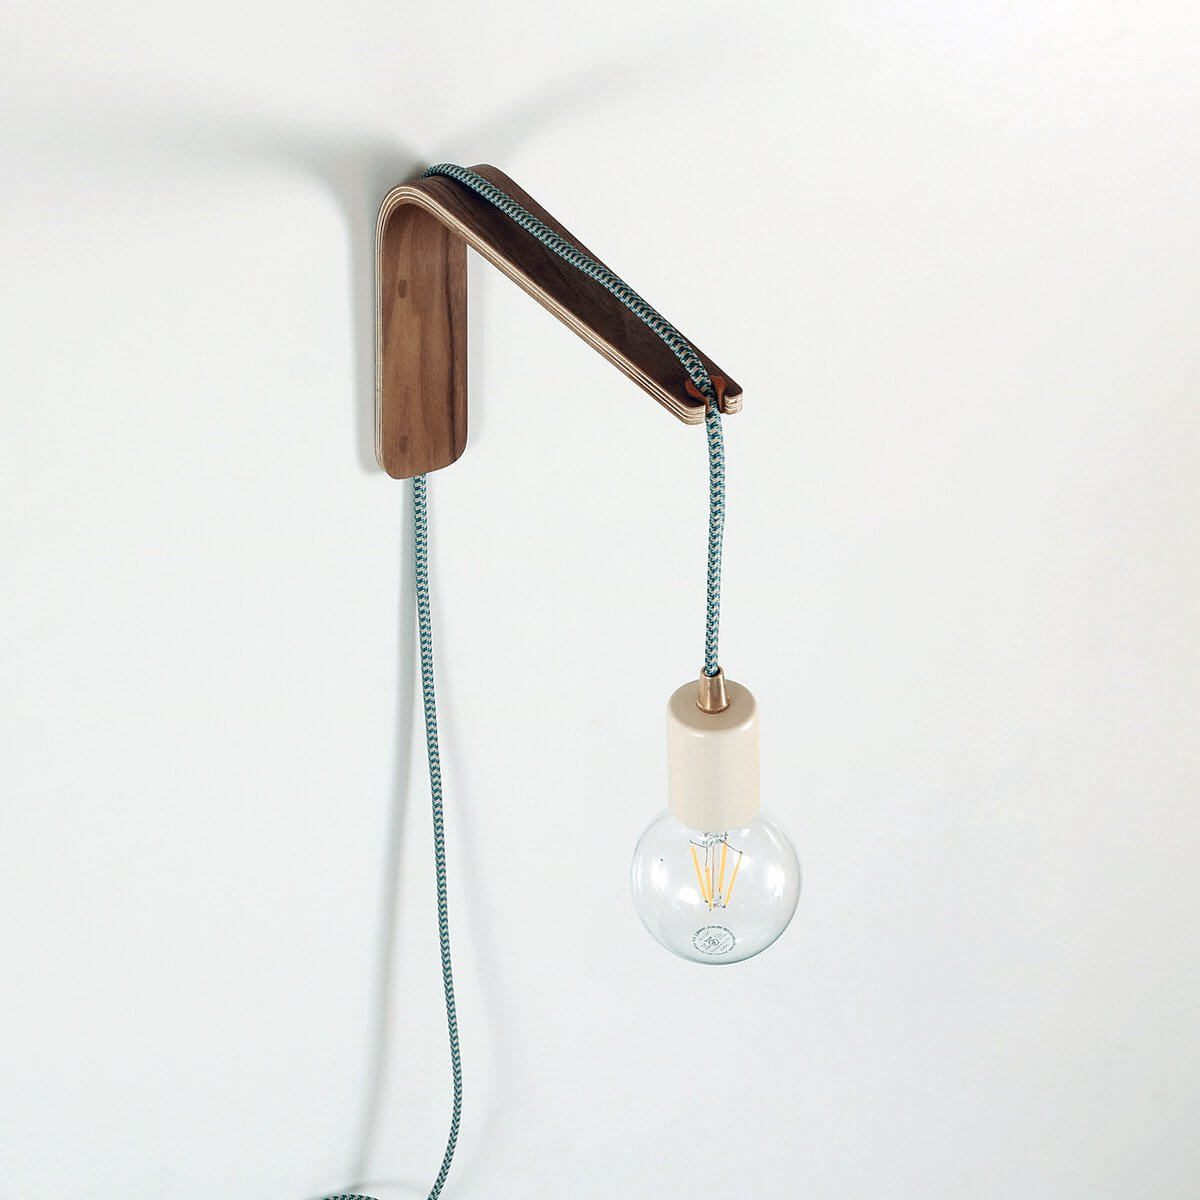
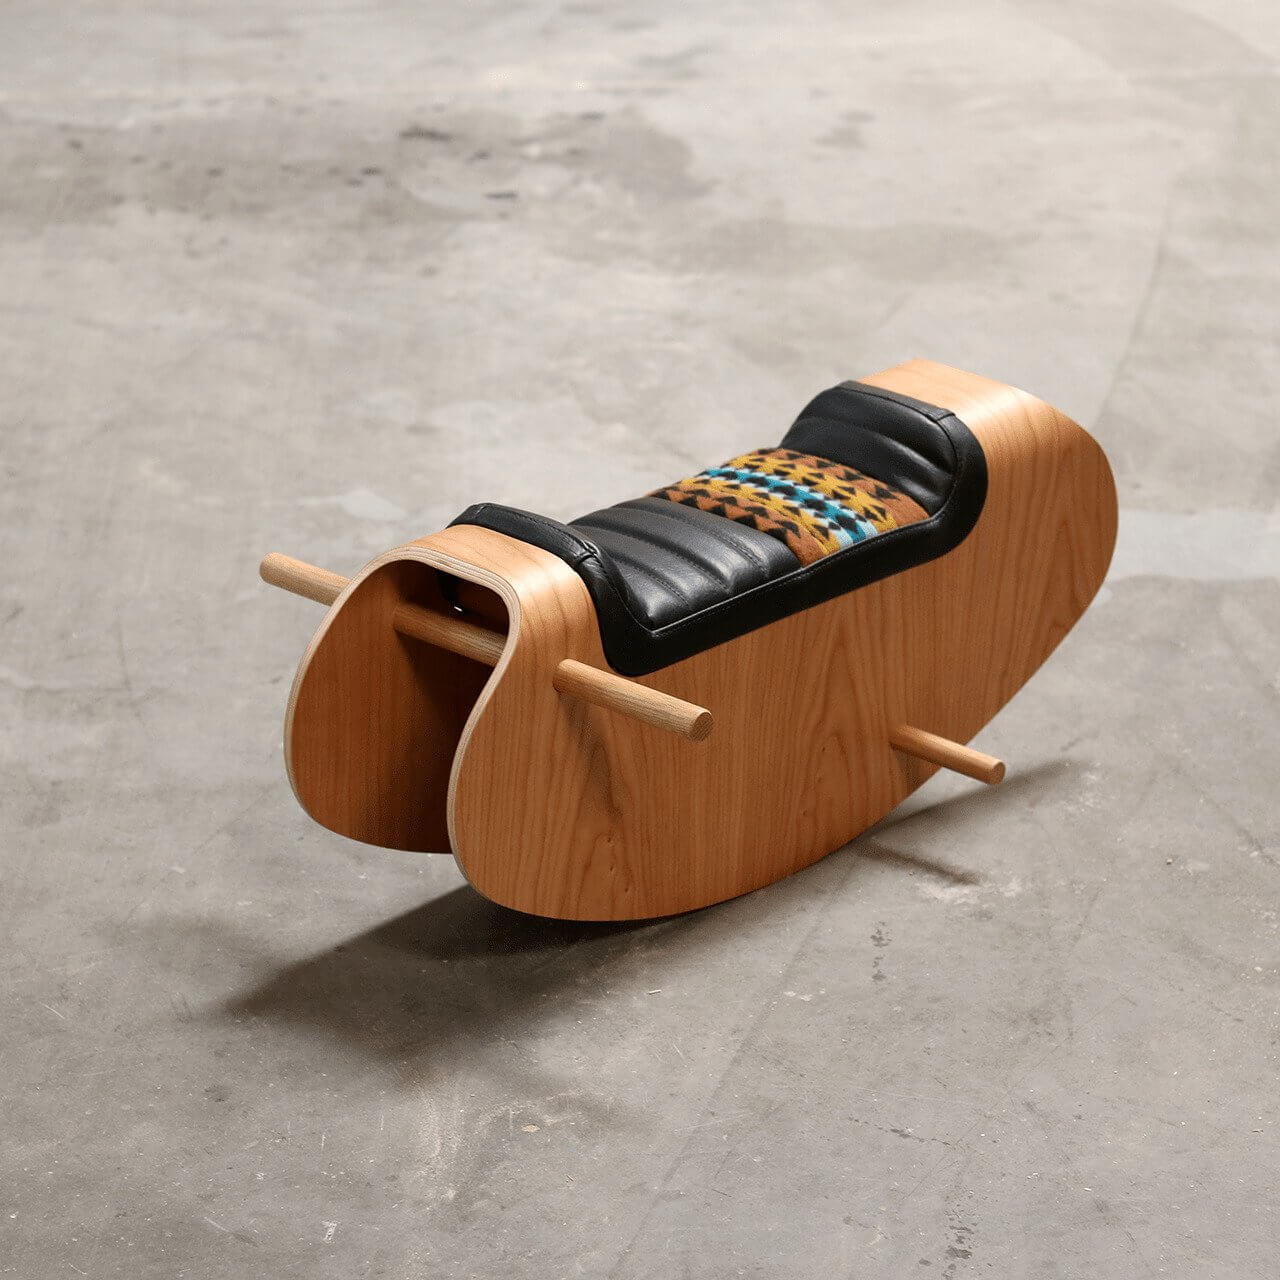
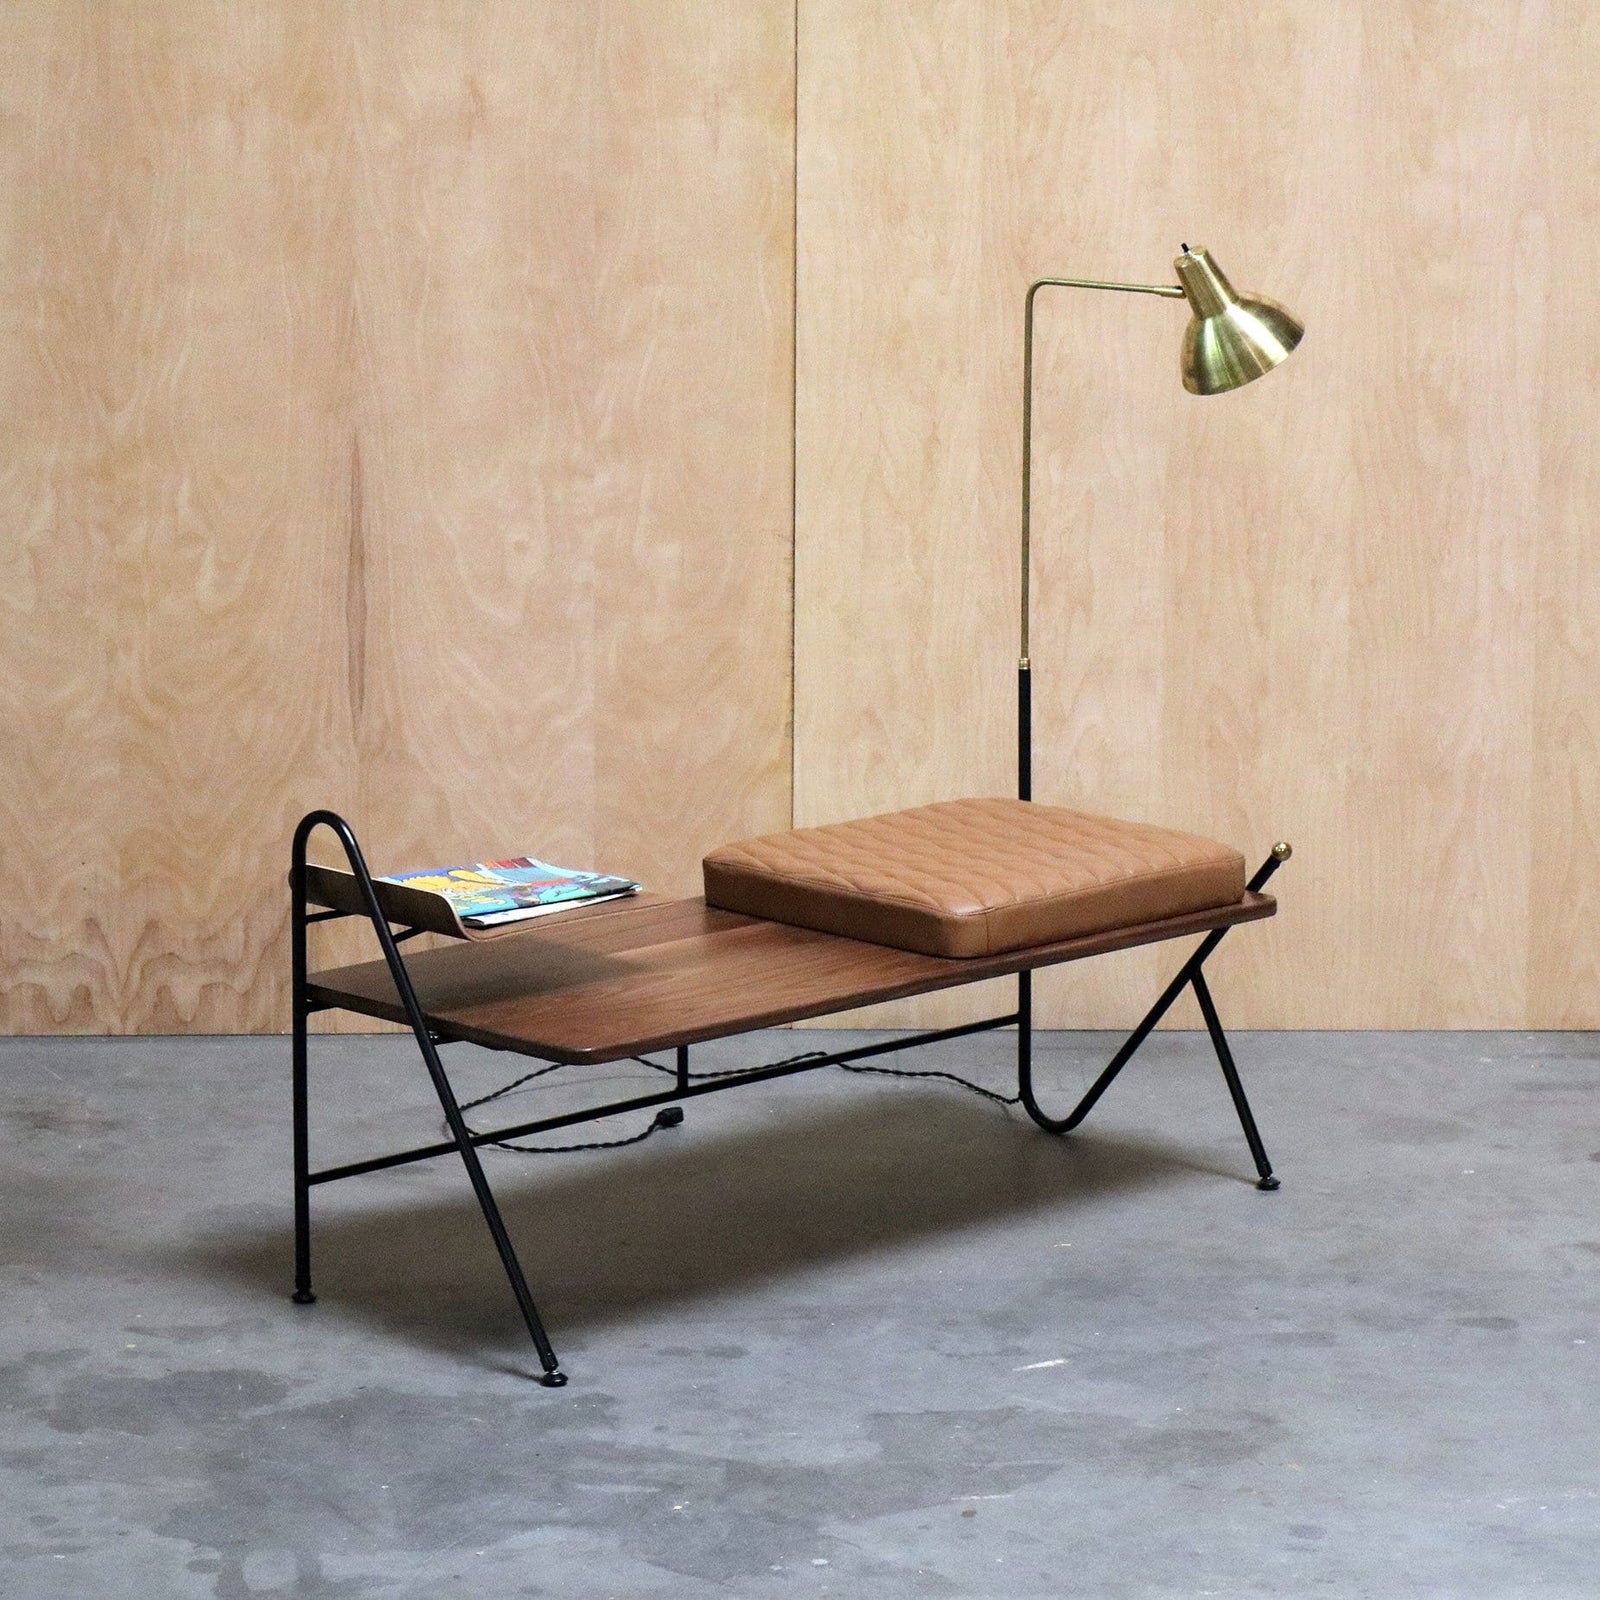
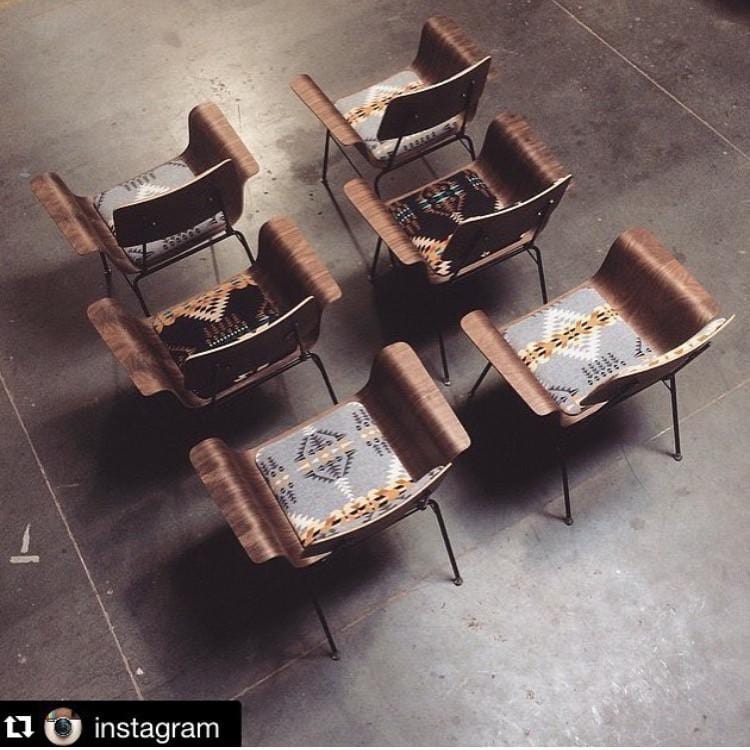
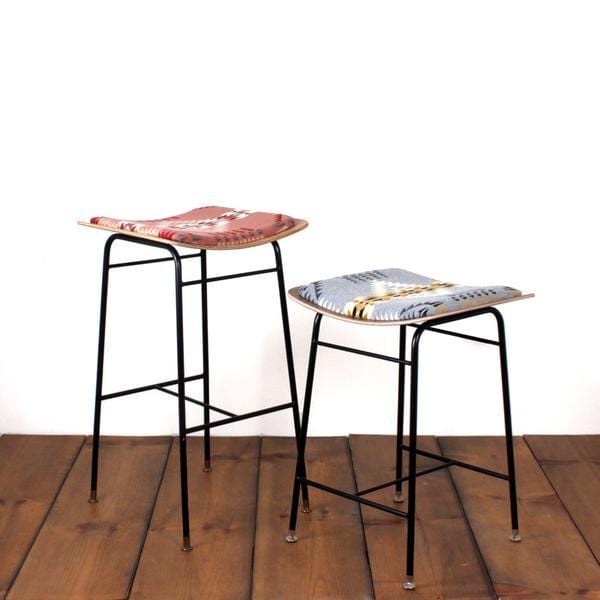
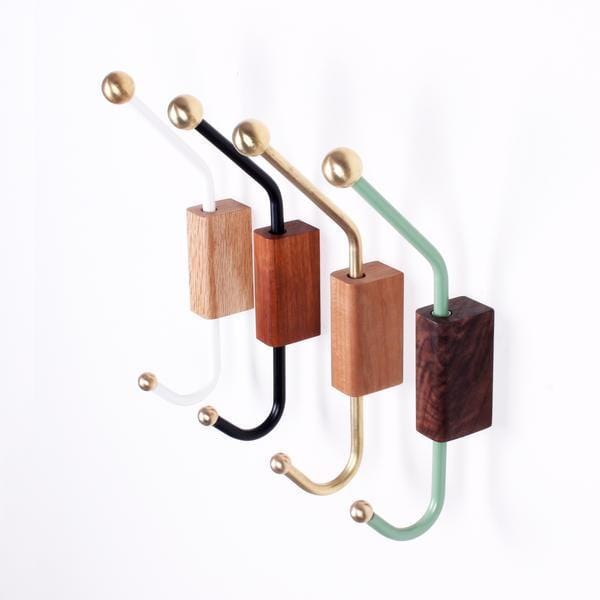
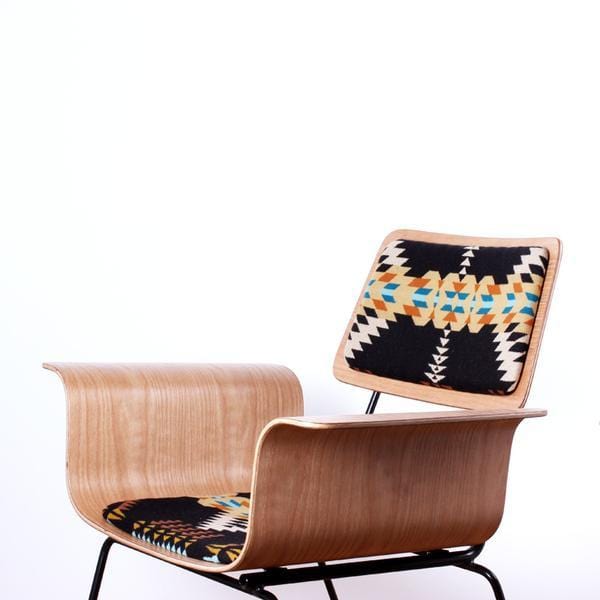
At OneFortyThree, we create awesome furniture with a twist using our unique plywood moulding process, also known as plywood bending. This rare and tricky technique, which started with our iconic Roxy Chair in 2012, involves custom-built moulds, natural veneers, special two-part glue, and precise pressing. Despite the challenges, the results are worth it, allowing us to craft strong, sleek, and beautiful pieces that eliminate traditional wood joinery. We use this method daily in many products, from chairs to shelves, making us experts in moulded plywood furniture. Our passion for this process drives us to create vintage-inspired, durable furniture that's both fun and functional.
Read More


Net Orders Checkout
| Item | Price | Qty | Total | |
|---|---|---|---|---|
| Subtotal |
$0.00 USD |
|||
| Shipping | ||||
| Total | ||||